Showing posts with label crafts. Show all posts

Saturday, February 11, 2012

vintage valentine's

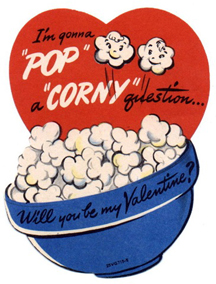
With Valentine's Day only 3 days away you may be thinking about what you can do that is special and unique for your loved ones?  My sister was home making old fashioned Valentine's with my nieces last night (just like our mom did with us as kids).  We were looking at images of vintage Valentine's this week at work and and really today's commercial imagery just does not compare.  I thought I would share a few of the images with you here.  Why not print some out and make your own homemade Valentine's? Vintage Holiday Crafts has so many great free images to use, just please be sure to read their rules regarding the use of images.


all above images courtesy vintageholidaycrafts.com

Here’s another great set of vintage Valentine’s Day cards I found on a Flickr stream. [via]
Happy Love Day


Wednesday, November 23, 2011

last minute details

If you are like me, you may be prepping for Thanksgiving dinner tomorrow.  I am excited to have 16 family members join us at our home, the most we have ever had since my husband and I "took over" the holiday a few years back.  To make things easier on myself, I assigned my guests, (they are family after all), some of the menu items.  This way everyone will have a part in contributing to the holiday meal. 
A quick time saver I have been practicing for years is using post-its on my serving dishes.  What a simple way to know exactly what item goes in which dish or plate!  It is also especially helpful when you have helpers in the kitchen on Thanksgiving day.  I guess my years of styling at Martha Stewart has influenced me here.  We use post-its on the mise en place bowls for the chefs in the prep kitchen as we prep each cooking segment. Tried and true!  So when you pull out your serving dishes tonight, give it a try!


Since we are having 16 people tomorrow, seating arrangements became a challenge, but not for long!  We, (my husband Tom and I), came up with a clever way to "attach" 2 tables together.  We placed 2 tables end to end, covered them with dark brown tablecloths, and then I created a craft paper runner down the center.  Even though the tables are not the exact same sizes, they still feel unified in how they are "dressed".  Complete with crayons for guests to creatively adorn once seated.


Also note the cute place card in the plate's center.  My sister and niece are making and bringing "apple turkeys" tomorrow for the name cards to attach to.  My bff Sweet Dani B designed this card for a "Friends Thanksgiving" I had this past weekend and has now made it a downloadable template on her website!  

my dog Mel with his cookie made by Sweet Dani B from our "Friends Thanksgiving"

So if you too need a place card for your table tomorrow, it's not too late!  Check her blog post from today and just print & cut.

Have a very Happy Thanksgiving.

Friday, November 18, 2011

have you started your holiday shopping?

I am participating in a few holiday sales this year and would love for you to come!  If you live in the tri-state area check out the following...

On Saturday, November 26th from 10 am - 4 pm 
I will be in at the Brewster Elks Lodge in Brewster, NY....
I also heard Santa will be too!

From December 3rd - 18th the Putnam Arts Council will be holding their
 Annual Holiday Craft, Art, Gift & Gourmet Sale.  
This is the 3rd year I am participating and I am super excited!


Why not think about buying handmade this year and supporting local artisans.
If you can't make it to one of these sales...you can always check out my website at
In the spirit of giving...my gift to my loyal blog readers is a 10% discount!
 Just use the code BLOG2011 when you check out.
Offer expires Dec 10, 2011.
enjoy ♥


Monday, August 1, 2011

what are friends for?

Dan's excellent friendship bracelets worn proudly by her husband Keith (photo by SDB)

A few weeks ago my bff Dan invited us to her shore house at the Jersey Shore for the weekend.  As we packed up the usual...food, clothes, beach chair, etc....I packed an extra bin for our "beach activity".  I had been seeing everywhere the resurgence of "the friendship bracelet" and I thought what a perfect activity for us to re-learn on the beach while working on our tans.  I don't know about you, but I was obsessed with making these bracelets growing up!  I would spend all summer making bracelet after bracelet.  So I got excited and went and bought the largest collection of embroidery floss I could find at Michael's (I had a 50% coupon, bonus!) and then I proceeded to print out several patterns for us to follow.  Now I didn't go and print the basic stripe or chevron that I remembered so fondly from my teens...I thought to myself, we are artists and master crafters, who needs the basics!  I am going straight for the expert patterns!  I did watch a simple YouTube video that was very informative on the 4 basic knots you need to know.  So I figured, if I could teach my partner in crime the basic knots, then we could just follow the patterns and be on our way!  Like riding a bike, it would all come back...or so I hoped!  So when I got to the beach I was very excited to see that Dan and her sister-in-law-to-be Nicole was also excited to get started on making some friendship bracelets.  We all picked our colors and I gave the basic knot making tutorial.  Then we all picked out these detailed hearts patterns to follow.  This is when I realized I probably should have read up a little bit more on the process.  I think my excitement got the best of me and I skipped a few steps.  We struggled a bit trying to read the patterns.  The more detailed the bracelet, the more advanced the pattern is and naturally the harder it is to make.  Not really the "mindless" bracelet making we were looking forward to for our first friendship bracelet on the beach after all those years!  While I tried my hardest to stick to the hearts pattern and teach them to Nicole and her friend who also joined us that day, Dan had a flash back to when she was a teenager and actually remembered how to make the basic chevron, or v pattern.  She decided to follow her instincts and let the string lead her along.  Later that day I figured out how to make the basic stripe pattern as well.  I put aside my half started heart bracelet, and started a new bracelet with 12 strings, 3 different colors (4 of each color) for my husband Tom.  It took me a while to get in the groove, even with the simplest pattern!  I actually took it home and worked on and off at if for a while...but after I sat there and committed to it, I finished and felt a great sense of accomplishment.  I actually made it too long and had to go back and take out a few rows to fit it to his wrist!  I then moved on to an inverse chevron and chose 2 colors I thought would compliment Tom's first bracelet.  Last night I tied them both on his wrist and felt like a giddy school girl all over again.  If you are interested in making some of these bracelets I recommend starting out with one of the basics and then moving on to a more advanced one.  There are so many fun patterns out there!  I found watching the YouTube videos/tutorials people have posted were the most helpful, I guess that comes from being a visual person!  Some of the paper patterns I was reading seemed to get very confusing.  Hollistergirl101 has a basic chevron and an inverse chevron video that I thought was very easy to follow.  For the basic diagonal stripe, check out this page at  Friendship-Bracelets.  They also have a pattern for any other bracelet you have probably seen!

The bin that started it all

Dan "listening" to the string

Nicole giving a go at the diagonal stripe & using her morning coffee to keep the bracelet in place!

Dan's dog Hope modeling the latest pet fashion!  This one was made in her fur/skin colorway!
(photo by SDB)

I took my bracelet with me on the train and used a safety pin to attach it to my bag!

Dan developed a new pattern while teaching the technique to our friend Janine! (photo by SDB)
 When I was researching I found that the knot tying technique used to make friendship bracelets is actually a form of macrame.  The making of friendship bracelets originated in Central America and was first seen in the US in the early 1970s.

She also discovered GOLD embroidery floss! (photo by SDB)

My first 2 finished bracelets on my husband Tom!  According to the tradition, the recipient must wear the bracelet until the cord wears out or naturally falls off to honor the hard work and love his/her friend put into making it.
 ♥
* a special thanks to Dan (Sweet Dani B) for documenting her friendship bracelet making & letting me share some of her photos with you all here!  
Let us know if you too have gotten bit by the "friendship bracelet making bug"!

Sunday, March 27, 2011

an etsy kind of day

I have kind of been neglecting my Etsy sites a little...but for a good reason.  For the past few weeks I have been freelancing at Martha Stewart Living working on a very exciting project... A beautiful Easter Show (more about that later once it airs).  Then this morning I found out that one of my newest items, the felted egg bird nest placecard holders, were featured in the Etsy Newsletter yesterday!  So today, I wanted to take a moment to thank a few of the other great Etsy artisans who have been choosing some of my pieces to put in their treasuries on Etsy.  For those of you who are not all that familiar with Etsy, treasuries are beautiful collections of artists work put together by other members and it works as a cross promotion tool on the site.  Treasuries are also sometimes chosen to be "front page" or the "home page" displays for the website.  When that happens, your site gets tons of traffic and you are almost sure to make sales!  I put together a small collection below of some of the artists who have chosen my work.  Please check out their sites to see more of their work as well.  Spring is finally here...why not treat yourself or someone you love to something fresh, new and handmade ♥

Sunday, February 6, 2011

for the birds

glittered pinecones (not for birds!)


This past holiday season I made glittered pinecones for some craft fairs, to give as Christmas presents, and to hang on my own Christmas tree.  I recently stumbled upon some of the extra pinecones I had not glittered and decided to craft them into something we used to make as kids...pinecone bird feeders!  With all the snow we have been having, the birds have been flocking to our feeders, so I figure why not give them something new and different to feast upon!  These feeders are super easy to make, and if you have kids, so much fun for them to make with you.  All you need are some pinecones, peanut butter (you can use shortening or softened suet if you have nut allergies), twine, plastic knife, bird seed and a paper plate or two. 


Tie a piece of twine securely to the stem side of your pinecone

Use a plastic knife to apply peanut butter in the openings of the pinecone

Over a paper plate, roll the pinecone in birdseed.
I used black oil sunflower seed and pressed the seeds into the 
peanut butter with my hand.

Hang your feeder near the end of a tree branch ...the further out you put it,
the less likely a squirrel will be able to get it!
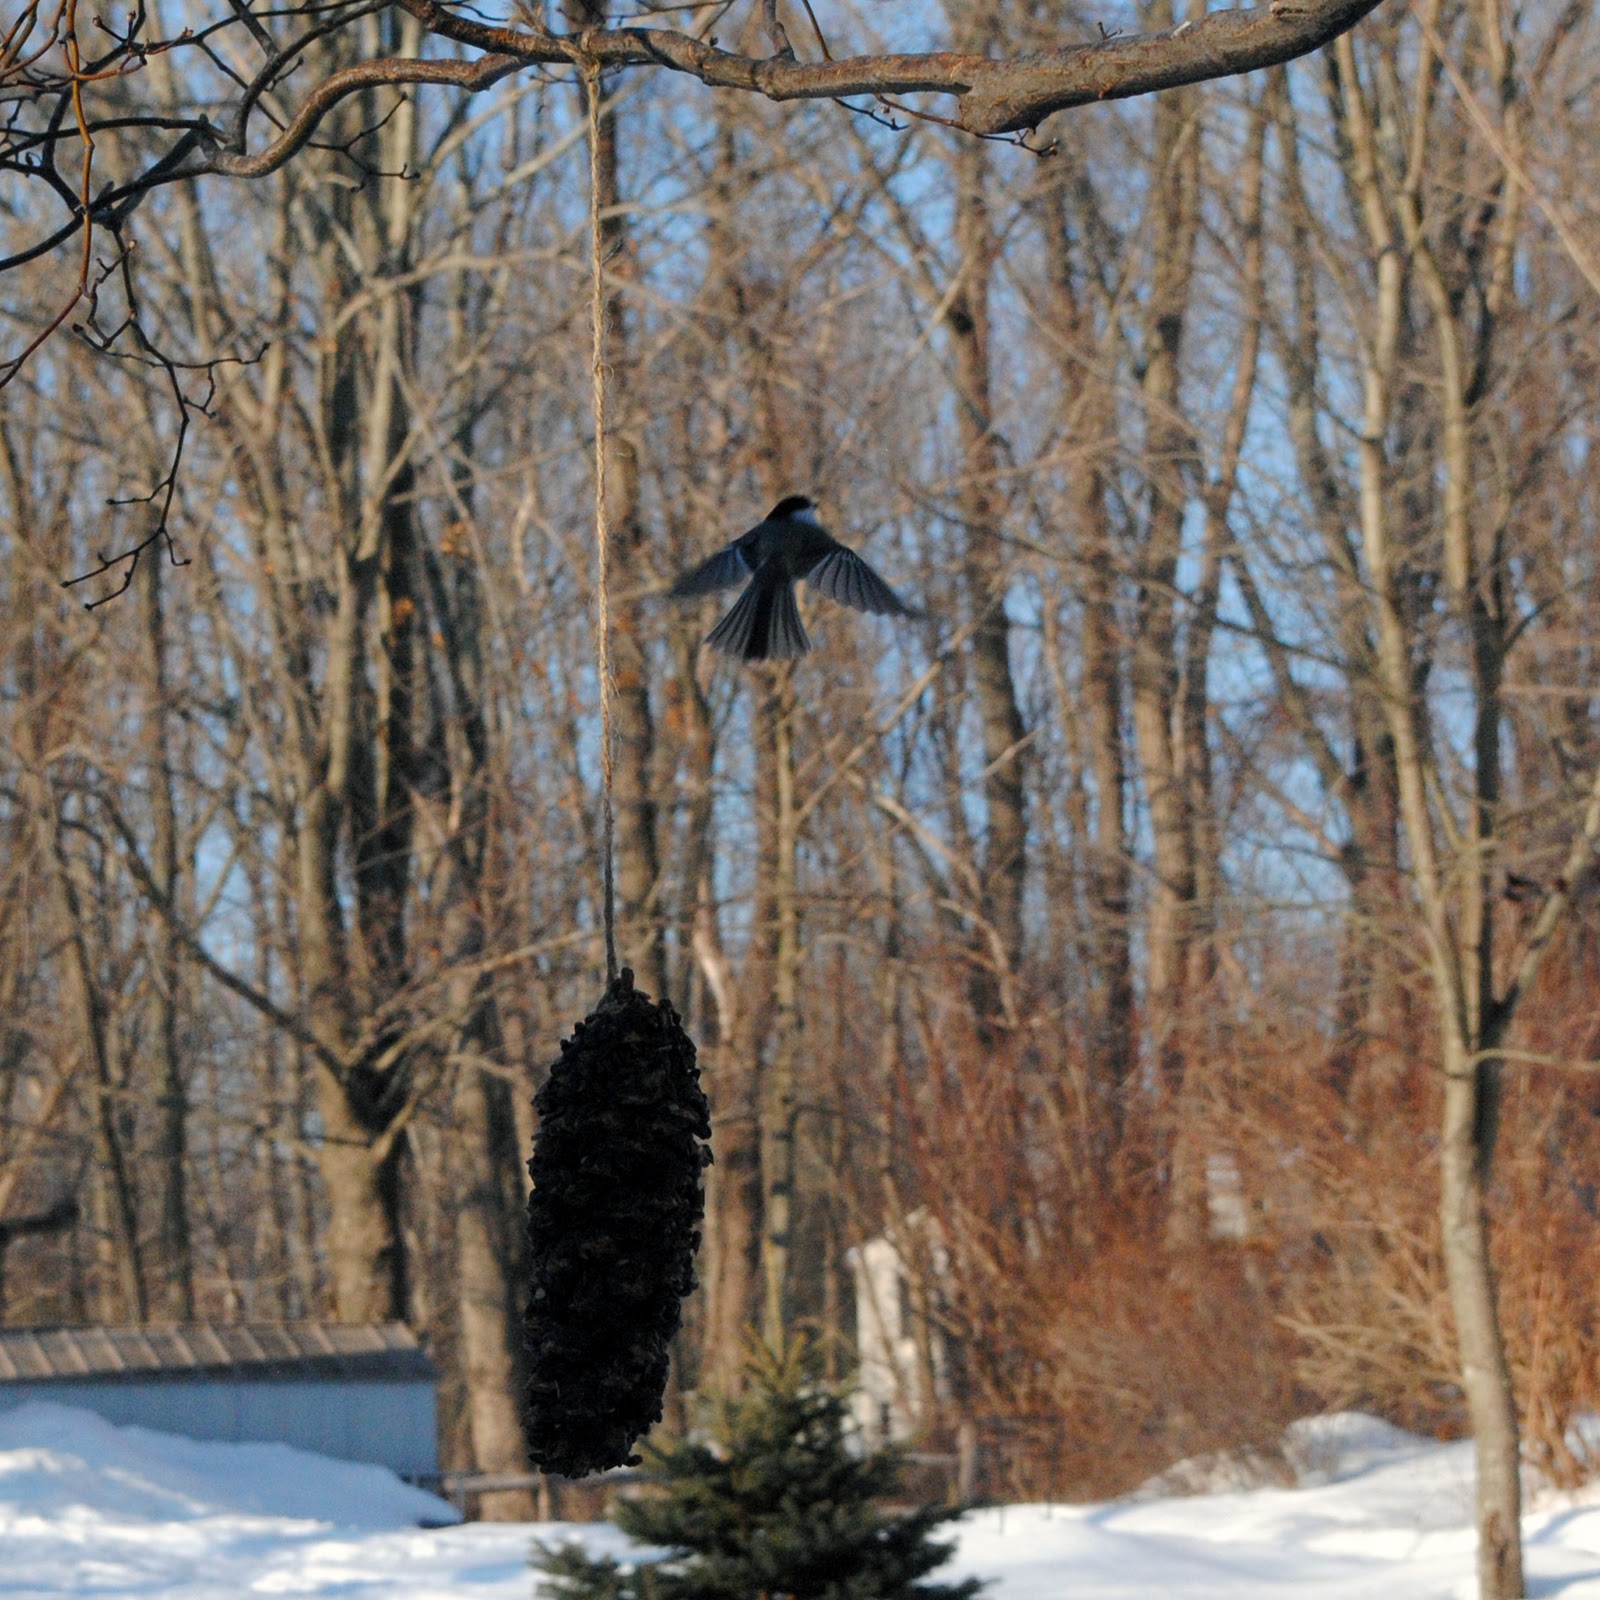
Wait...and birds will come :)

A very happy customer!  Now off to identify my feathered friends. 
xo