We sort of skipped Halloween this year at my house. Quite a few people did actually in my area. This past Saturday, October 29, we were hit with an early, rare snowstorm on the East Coast. Since our trees have not finished shedding their leaves, many of them were pushed to their limit when the heavy, wet snow fell fast and furious. They bent, broke and snapped in all too many places, taking many power lines (among other things) with them. Our town is just now coming out of a "state of emergency" and the schools are finally opening tomorrow. Power is still not restored to everyone, my house is running on "borrowed" electricity after being out for five days and we are still waiting for a permanent fix. As a result, my town, and many towns and neighboring cities, did advise against trick-or-treating on Halloween as it was deemed very unsafe to be roaming around in the pitch black with wires and trees just about everywhere one could look. Although I was homebound on the actual day of Halloween this year, I did do a little pre-Halloween celebrating a few months earlier when I worked on Martha Stewart's Haunted House, the newest Martha Stewart Halloween Special. It is always so exciting to work with the Art Department team to help create these very creative television specials. This one started out as an empty garage which was transformed into a terrifying haunted house. Guest artisans were invited to show their crafts and a final party area was set up with food, drinks, games and of course....candy! The special aired a week before Halloween and again on Halloween day. If you missed it, check out the online clips here. I wanted to share some of my behind the scenes photos with you all this weekend, but the storm got in my way. I think it is always fun to see all that really goes into making television "happen"...so I am still going to post some of my favorites from the shoot. I hope you enjoy, better late than never!

We started with an empty garage once we arrived at Martha's guest house. Most of the walls we constructed were freestanding and movable to provide room for us to tape the different segments. This is one of the "Shanty" walls.
Here Anduin and Javier Avila, Set Decorator, are shooting a segment showing how to make a wall out of spandex!
This was one of my most relaxing moments on this shoot! Paul Moreno, Set Decorator, and I were helping hollow out pumpkins carved by guest Michael Natiello, Creative Director of The Great Jack O'Lantern Blaze. Of course we saved the pumpkin insides for Martha's chickens to eat later!
The entrance to Martha's Haunted House. Aaron designed (and showed on camera) how you too can make a creepy monster mouth entrance. Keep that in mind for next year!
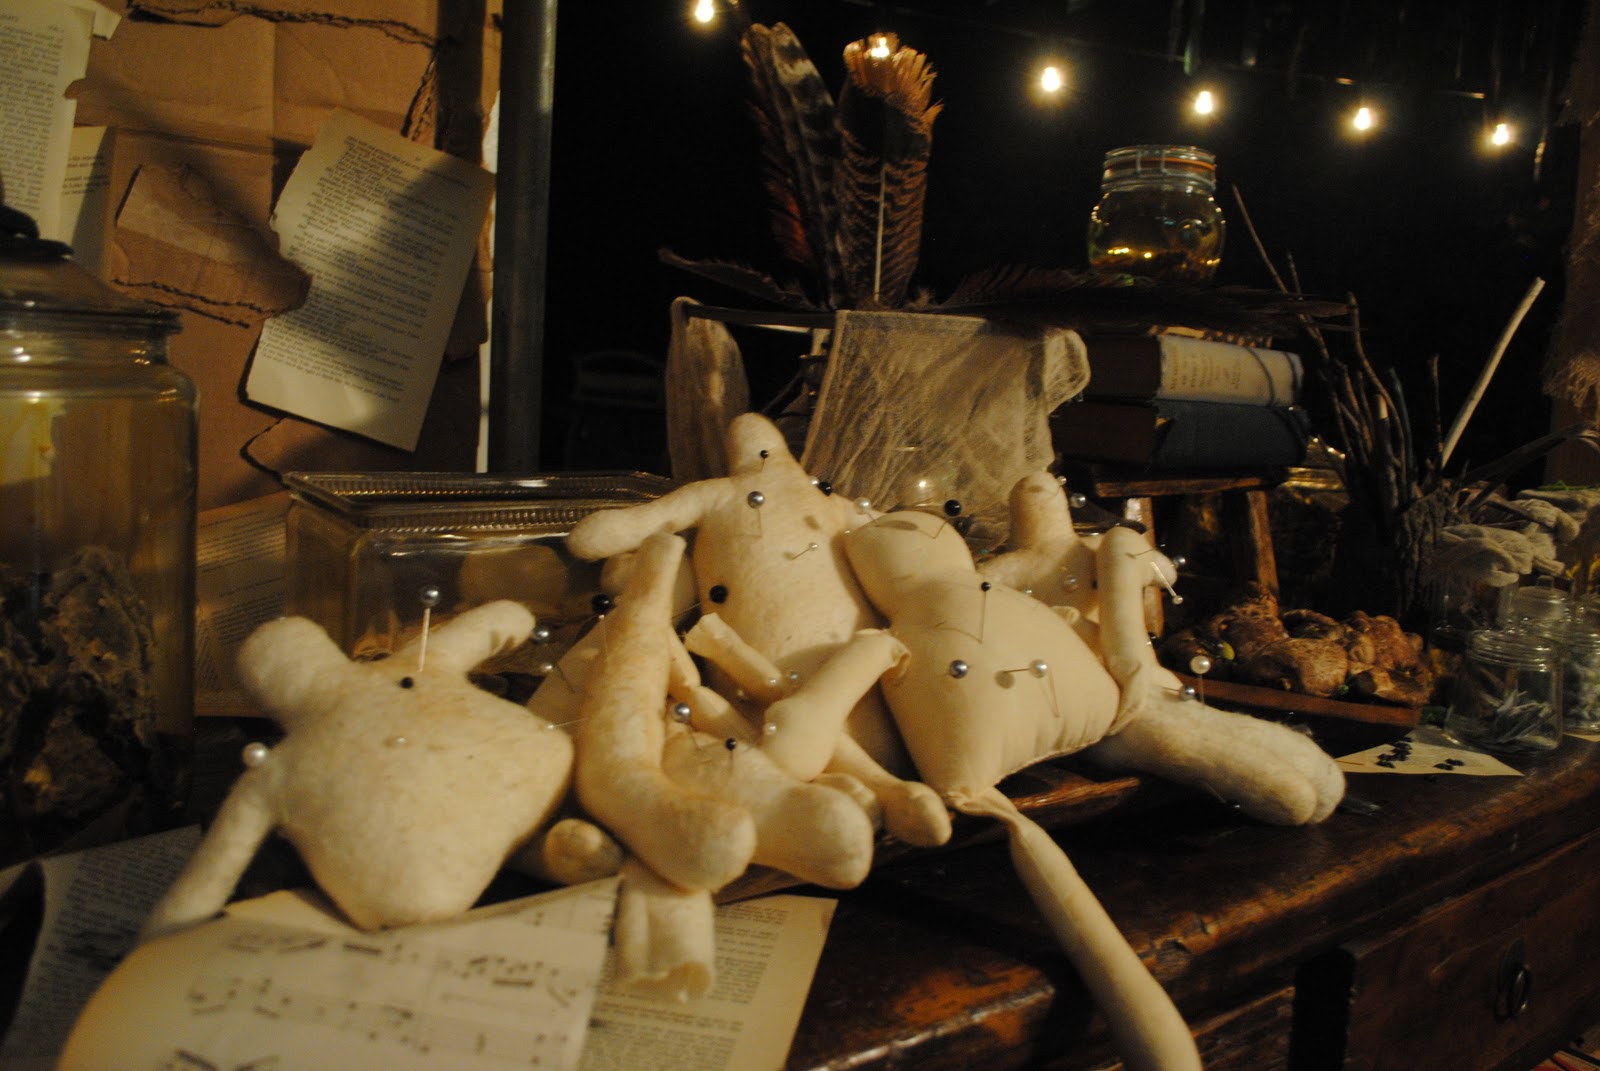
We created two main rooms in the haunted house. The first one was a Voodoo Shanty. Martha Stewart TV Crafter Kristin St. Clair was an incredible Voodoo Woman! She invited the guests in and helped guide them around the room. The boxes on the table in front of her are "touch bins" filled with all sorts of fun and creepy finds.
Details of the Shanty include walls made of cardboard, dirty jars filled with dried goods, and a handcrafted Voodoo doll in which we projected a spooky face...BOO!
More details!
The second room was a Mad Scientist's Lab. Martha Stewart TV Crafter Jim "Figgy" Noonan played the wacky Professor Figgy! When the children entered the lab they were able to join the Professor for some explosive experiments!
It definitely looks like something exploded in here! Poor Mr. Bones.
To escape the house, we built a series of tunnels. A plastic tunnel filled with body parts and blood spatter...don't worry, they weren't real :), a wooden pallet tunnel (you may have seen a few bones in there), and the final escape was through a black cave - lit only with black lights - thank goodness for the glow in the dark bugs, spiders and snakes that dropped by!
Outside, Martha, dressed as "Motha" and her guest Justin Long, dressed as "Teen Wolf", decide to give the children a tour of the outdoor decorations. Of course a quick stop by the cemetery. Every Halloween party needs a cemetery!
Oh, and we had a zombie buried in ours. One of the guests on the special, Leonard Pickel is a "Haunt Expert" and is a great sport. He not only gave our viewers some tips for the "perfect haunt" in his plain clothes, but he then made an amazing transformation into a Zombie (with some help from the talented make-up artist Kristofer Buckle) and agreed to be buried to spook the children. He breathed through a specially designed breathing tube while he was underground.
Artist Tim Murton came all the way from Canada to show Martha and our viewers how to make these brilliant creatures.
No Halloween party would be complete without a "treat". A food table and candy station awaited the guests out back...when or should I say if? they made it out of the Haunted House.
Even Francesca likes a sweet treat.
Michael Natiello carved these Jack O'Lanterns and we used hollowed out logs from Martha's farm to display them. These Martha Stewart Crafts window silhouettes are an easy and simple way to create festive window coverings!
Michael also created these spook-tacular pumpkin creatures for the lawn. I loved how they changed from daylight to dusk to dark.
Aaron, James, John, Kelli and Paul....Final load out almost always includes a very big truck...and lots and lots of energy! Our team rocked!
That's a Wrap!